Oh man, I had a whole
post written two days ago but had to restart my computer and lost it. Anyway,
let's recap meals:
Saturday – day 27
B: rrp omelet, turkey
sausage, avocado, home fries w mustard
S: cashew lara bar at
the indoor playground with fam
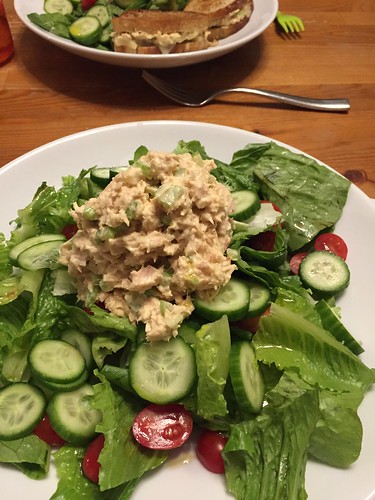
L: tuna salad on
greens, sweet potato chips, deviled eggs at a toddler bday party
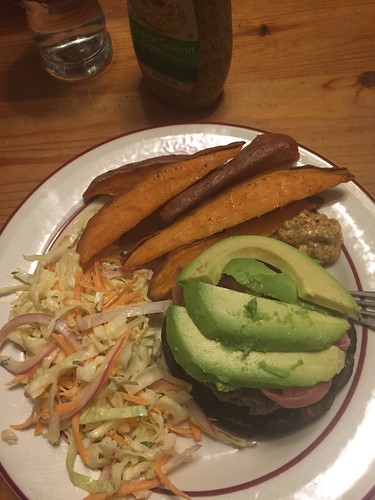
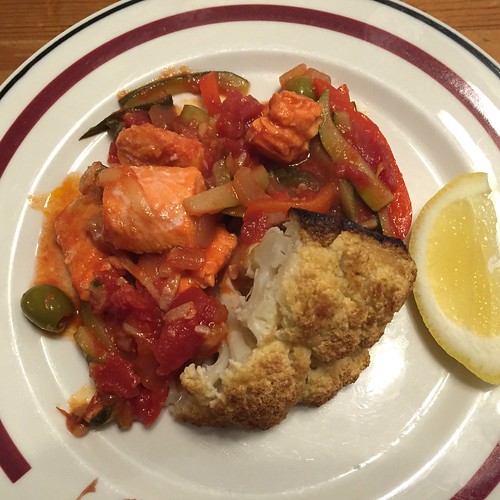
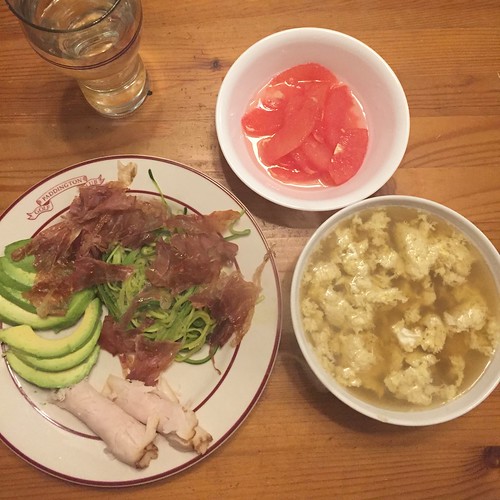
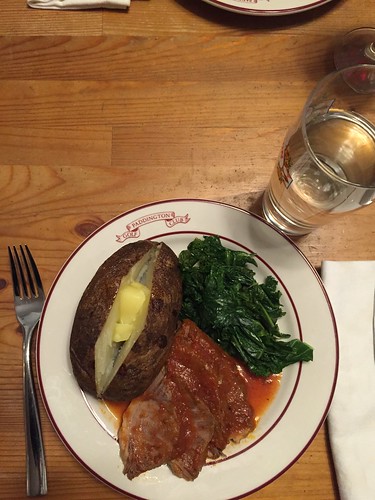
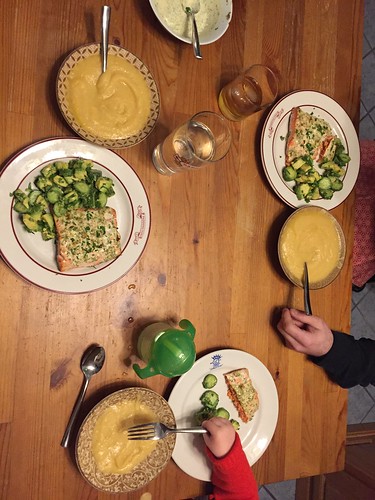
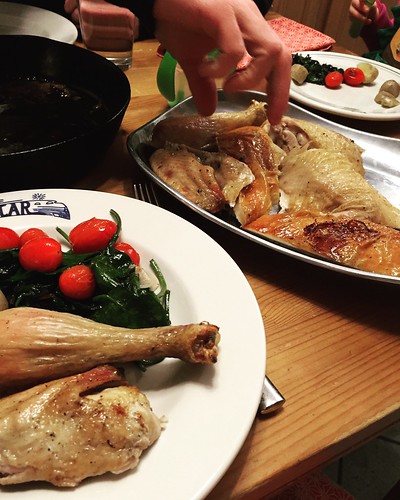
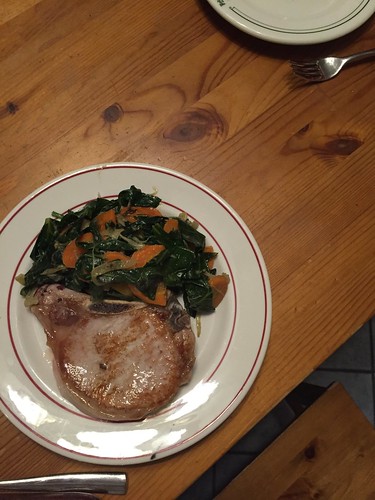
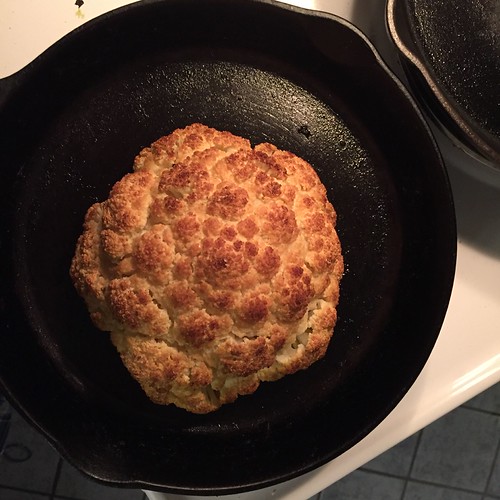
D: whole roasted cauliflower
and salmon veracruzana - so delicious! I mostly made up the recipe – one bell
pepper, two zucchini, one onion, satueed, two small cans diced tomatoes, all
stewed together. I left this on the (turned off!) stove while we went to the
toddler party and when we got home, I heated it back up, added a bunch of green
olives, and the last 2 costco salmon filets that I had defrosted, cut into
chunks. It was really delicious! Somehow I ended up just feeding myself so we
had the leftovers for lunch the next day – kiddo tried the salmon but fished
all the olives out and asked for “mow aw-bips!”
Sunday – day 28
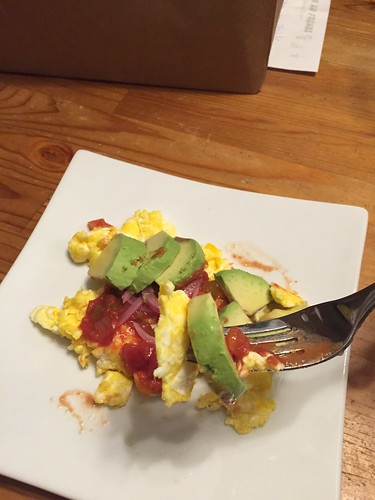
B: scrambled eggs,
sautéed spinach, avocado
S: banana at the
playground
L: salmon veracruzana
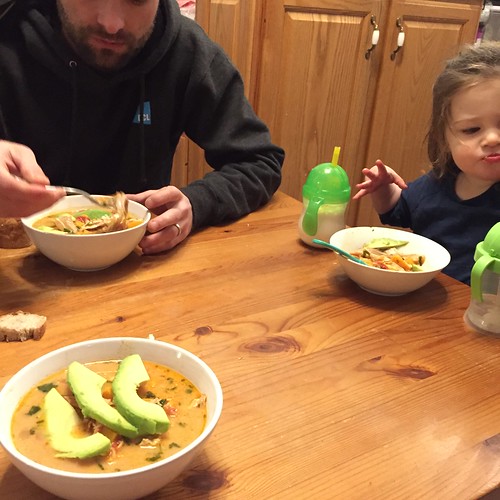
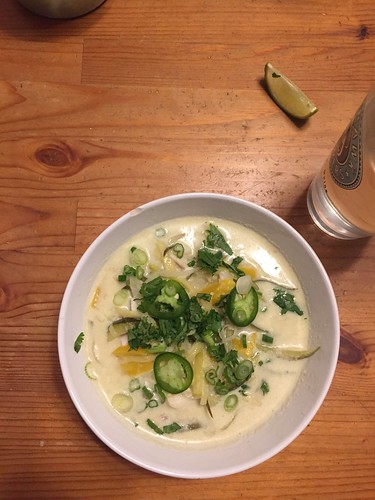
D: sopa de pollo with
avocado – best soup I’ve made all month!
Monday – day 29 – I still
like eggs!
B: 2 turkey sausage
links, 2 eggs, sautéed spinach, avocado
S: banana, almonds,
red pepper with guacamole
L: the end of the
salmon veracruzana
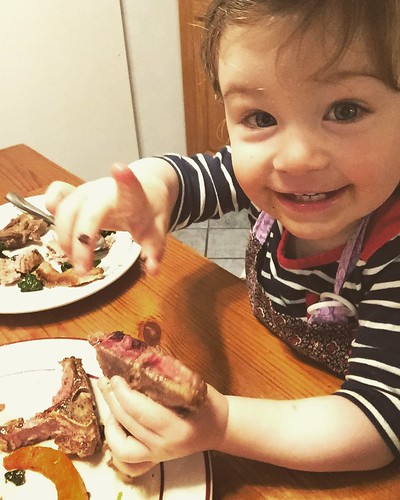
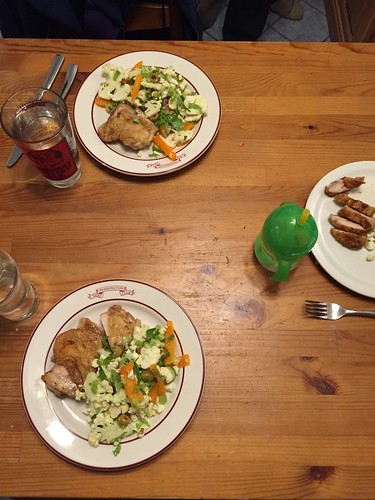
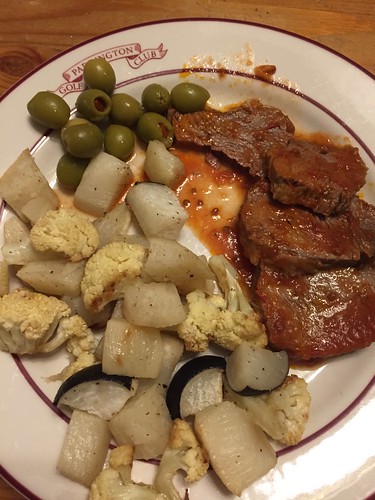
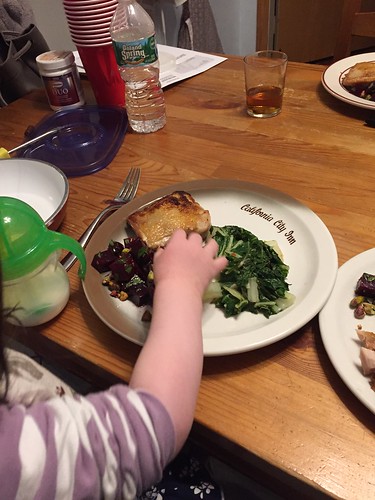
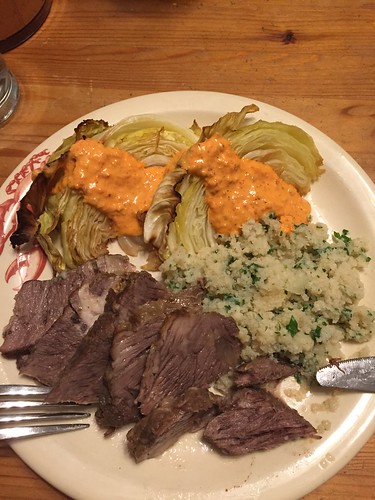
D: stir fry of cube
steak (it was the only beef in the house!), shiitakes, bell pepper, cauliflower,
green beans, sauce thickened with arrowroot – my first time cooking with
arrowroot! I made up the sauce using coconut aminos, fish sauce, sesame oil,
chili flakes, rice vinegar… mostly just splashed things in that seemed
appropriate. Not sure I could recreate it, but it sure was tasty!
Today – day 30 (!!!)
B: 2 fried eggs, 2
pieces crispy chicken skin, the last turkey sausage link, sautéed spinach,
olives, avocado
S: half a bell pepper,
guac, blackberries, cashews, 3 slices applegate roast beef
L: will be more sopa
de pollo with avocado
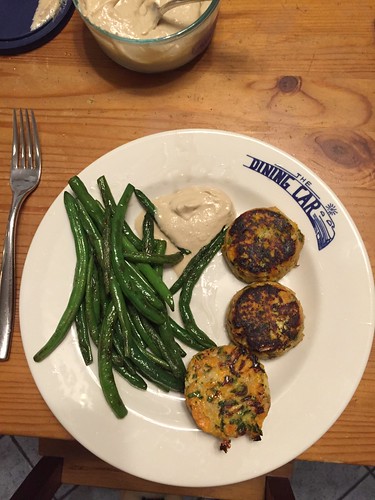
D: will be NNP tuna
cakes with salad
I really can’t believe
today is day 30. I feel like this week I’ve just hit my stride! I don’t know if
I wanna call it tiger blood, but I do feel really good. Tomorrow I start
reintroduction, which I guess I’m looking forward to? I’ll start with dairy – a
little bit of cheese in my eggs, a latte on the way to work, maybe some yogurt with
lunch but definitely yogurt (raita!) with dinner. A couple days later I’ll
either do beans or non-gluten grains, then the other, and gluten will be last,
I think. We’ll see how it goes, but I’m hopeful I can still be an “everything
in moderation” kinda gal. These last 30 days have certainly taught me to be
creative, and I hope the habit of filling my plate with vegetables sticks. I’m
looking forward to vegetarian meals, though, so I’m anxious to get back to
beans and tofu.
.jpg)